Overview
This article covers the process to manually create a CardDAV account for personal and public contacts in Apple Address Book.
CardDAV is a web protocol which uses standard URLs for accessing remote resources, specifically contacts. When configuring access to these types of resources, users will need to provide the correct location via a URL string. If you are attempting to access a resource that is shared (e.g. public folders), make sure that you have sufficient access rights. Due to the security requirements of some mobile devices, it is recommended to configure a signed SSL certificate in Kerio Connect. For additional information, refer to Accessing CalDAV and CarDAV Accounts.
NOTE: A manual setup of the public folders does not work if Kerio Connect is installed on a 10.6.8 Mac Server. Every other version of the Mac software allows users to configure a manual public CardDAV account.
Step-By-Step Guide
Personal Contacts
To create a CardDAV connection to your personal contacts:
- Go to Address Book > Preferences > Accounts.
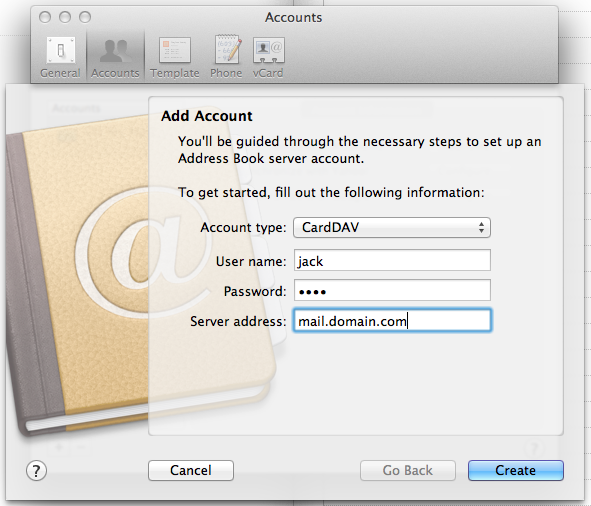
- Add an account, choose CardDAV as the account type.
- Enter your server address and credentials.
Public Contacts
To create a CardDAV connection to your public contacts:
- Go to Address Book > Preferences > Accounts.
- Add an account, choose CardDAV as the account type.
- Enter your server address and credentials. The server address needs to be a URL for the public folder. It needs to follow the format:
[server address]/carddav/users/[domain]/.public/(e.g.mail.server.com/carddav/users/domain.com/.public/).

Confirmation: The CardDAV account is successfully created.
Related Articles
Priyanka Bhotika
Comments