Overview
This article shares the process of installing Kerio Connect server on Linux Debian or Ubuntu systems.
Note: Make sure your system meets all requirements before starting the installation.
Installation Process
- Download the latest version of Kerio Connect to the desired location.
- Open the terminal and navigate to the folder where the installer is downloaded.
- Run the installer:
- using dpkg with root privileges:
# sudo dpkg -i <installation_file_name.deb>
Example:# sudo dpkg -i kerio-connect-9.3.0-5288-p1-linux-amd64.deb
Important: the command should be executed with superuser (sudo) privileges. - An alternative way is to install using the APT package manager.
sudo apt install ./kerio-connect-9.2.11-4847-linux-amd64.deb
Note: APT will automatically install all the necessary dependencies.
- using dpkg with root privileges:
- Follow the steps in the installation wizard. Kerio Connect gets installed in the
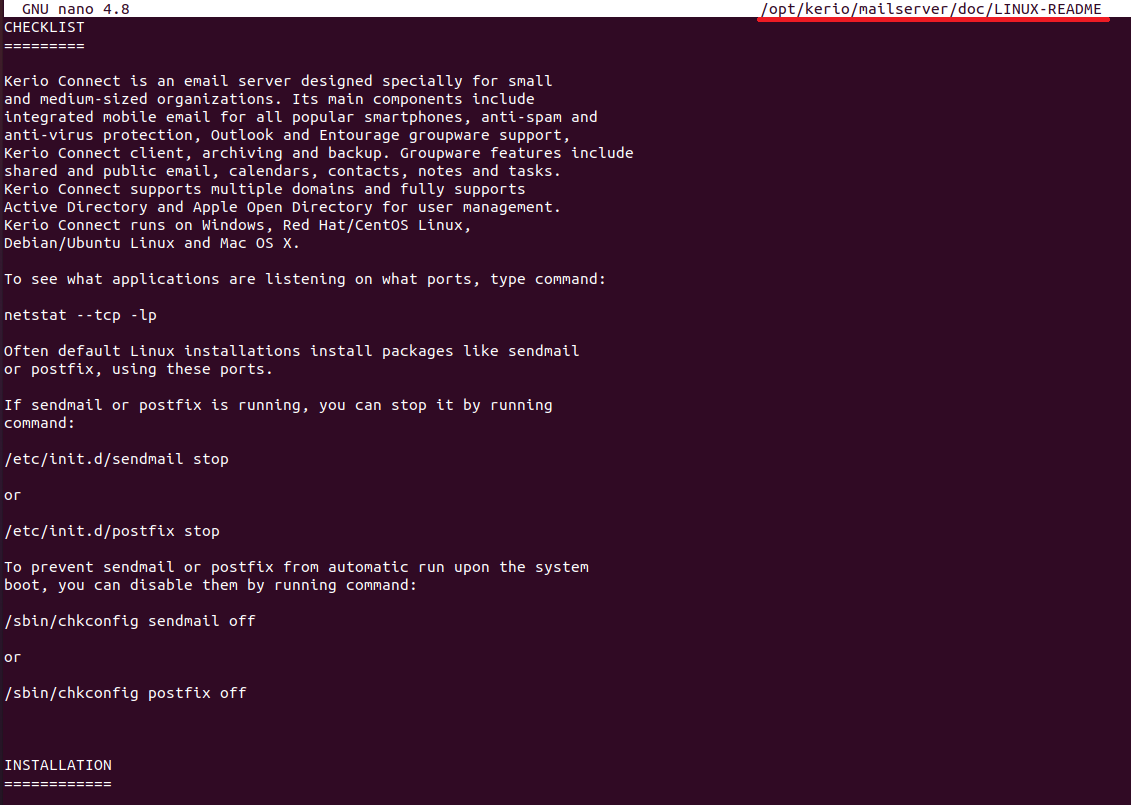
/opt/kerio/mailserverfolder. - We recommend you read the LINUX-README (located in
/opt/kerio/mailserver/doc) file carefully and immediately after the installation.
- Perform the initial configuration after starting the Kerio Connect engine.


Manually Starting or Stopping the Kerio Connect Engine
The Kerio Connect service starts automatically. The script that provides this automatic start-up of the daemon (Kerio Connect engine) on system reboot is located in the /etc/systemd/system folder.
You can use the following commands to start or stop the daemon manually from the terminal:
- Stopping the Kerio Connect engine:
sudo service kerio-connect stop - Running the Kerio Connect engine:
sudo service kerio-connect start - Restarting the Kerio Connect engine:
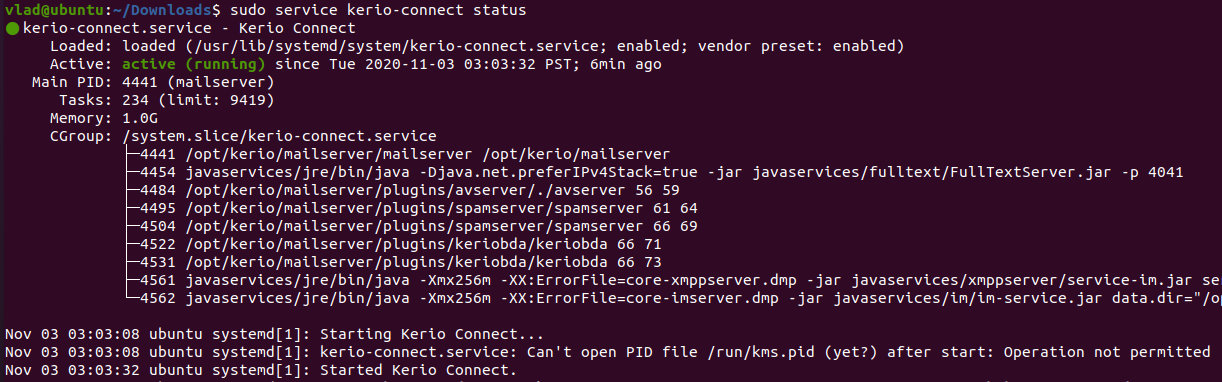
sudo service kerio-connect restart - Status of the Kerio Connect engine:
sudo service kerio-connect status
Priyanka Bhotika
Comments