Overview
This article shares the process of uninstalling the Kerio Active Directory Extension (KADE) from the Windows environment.
Note: You must have admin access to the Windows server to uninstall KADE.
Process
Follow these steps:
- Log in to your Windows server using admin privileges.
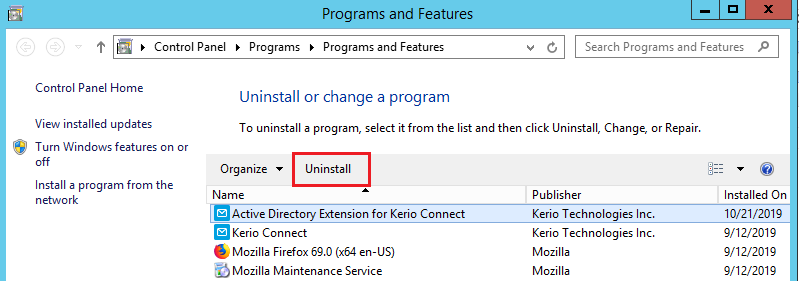
- Search and open Programs and Features.
- Select Active Directory Extension for Kerio Connect.
- Click Uninstall.
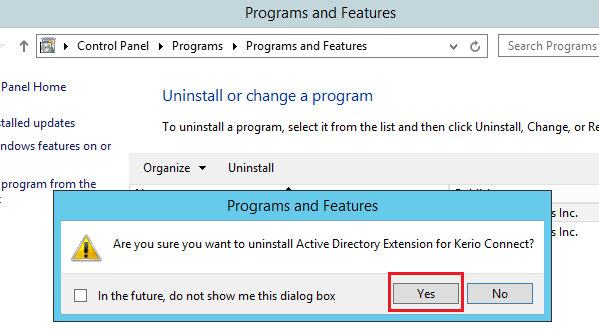
- Click Yes to proceed with the uninstallation.
-
(Optional) Sometimes KADE attributes do not get deleted from ADSI (Active Directory Service Interfaces) due to environmental issues. Follow these steps to manually delete them using the ADSI Edit application:
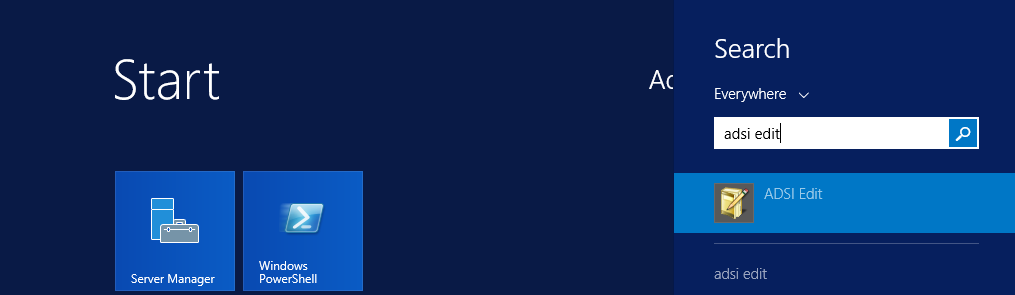
- Search and open ADSI Edit.
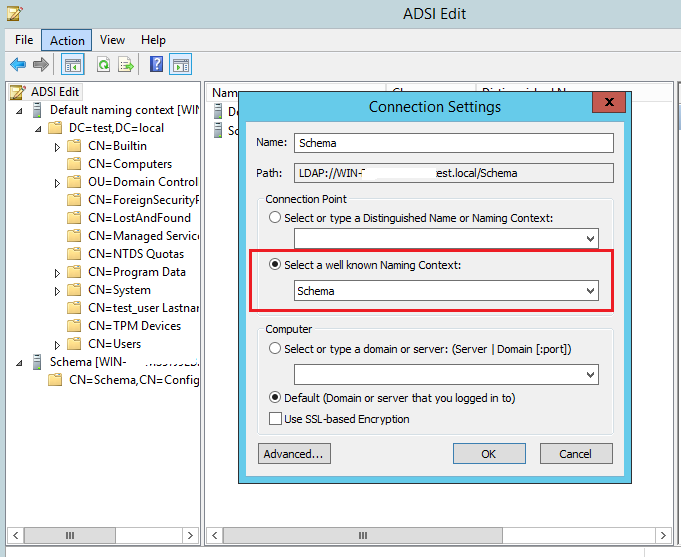
- Go to Action > Connect to.
- In the Connection Settings window under 'Select a well known Naming Context', choose Schema.
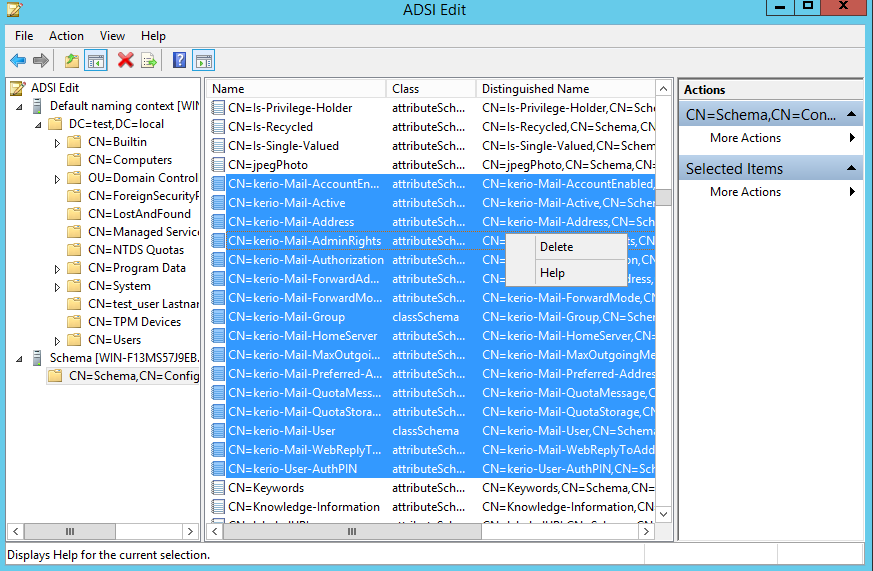
- Identify and select all Kerio related attributes.
- Right-click the selection.
- Click Delete.
- Search and open ADSI Edit.

Confirmation
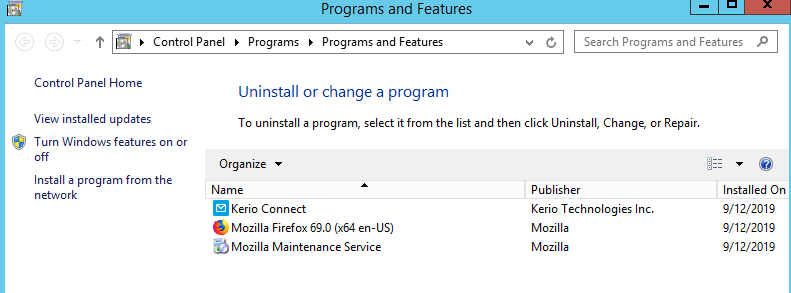
KADE is successfully removed from your Windows server and is no longer visible in Programs and Features.
Related Article
Installing Kerio Active Directory Extension (KADE)
Priyanka Bhotika
Comments