Overview
User groups belong to a domain. Each domain may include any number of local and mapped groups. The number of groups is NOT limited by your license.
Note:
- You can create local user groups and map user groups from a directory service.
- You can use user groups in Kerio Connect to:
- Set access rights to Kerio Connect administration for multiple users.
- Deliver a single message to multiple users via a single email address.
Step-By-Step Guide
Create User Groups
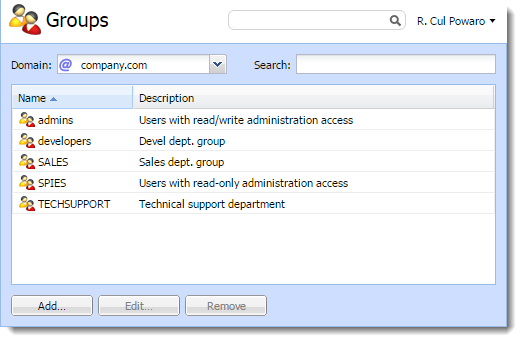
- Go to section Accounts > Groups.
- Select a domain in which you want to create a group.
- Click Add.
- On the General tab, type a name for the group and description.
- On the Email Address tab, add email addresses for the user group.
You can add any number of email addresses. You can also use an existing username as the email address — any messages sent to the group email address will also be delivered to the original user. - On the Users tab, click Add.
- Select the local users you want to add to the group and click OK. You can also go to Accounts > Users and select a group in the user's settings.
- On the Rights tab, set the access right to the administration interface.
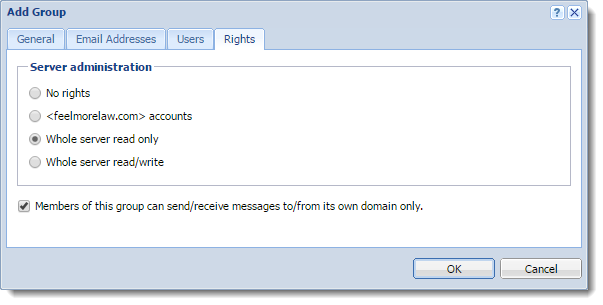
- Click OK.
Note: You can manage user groups in the administration interface in section Accounts > Groups.
Mapping Groups from a Directory Service
- Connect Kerio Connect to a directory service.
- Activate groups in the administration interface
- Go to section Accounts > Groups.
- Select a domain in which you want to create a group.
- Click Add > Add From a Directory Service.
- Select groups, you want to map to Kerio Connect.
- Click Next.
- Click Finish.
Note: Kerio Connect does not map nested groups and users.
Exporting Group Members
To see the list of members in each group, you can export members of individual groups into a CSV file. The data in the CSV file is organized as follows:
- Individual items are separated by semicolons
- Multiple information within individual items are separated by commas
Export group members as follows:
- In the administration interface, go to the Accounts > Groups section.
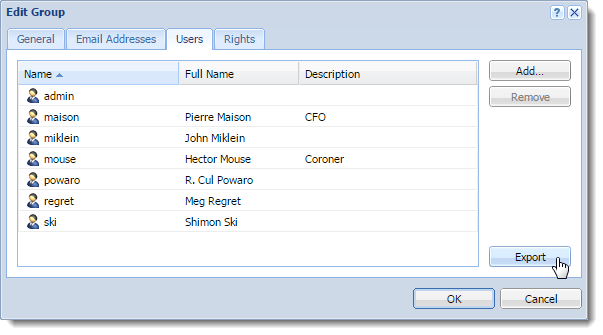
- Double click a group.
- On the Users tab, click Export.
Note:
- Kerio Connect saves the CSV file to your hard drive.
- The file name uses the following format:
users_<domain_name>_<group_name>_<date>.csv
For example, users_company.com_TECHSUPPORT_2015-09-09.csv - Use a spreadsheet or a text editor to open the file.
Confirmation
Your Kerio Connect user group is set and ready to use after you verify it.
Priyanka Bhotika
Comments