Overview
This article provides information on how to configure the IMAP profile for the Outlook mobile applications installed on iOS and Android devices.
Prerequisites
Download the Outlook application from the App Store or Play Store.
Process
iOS
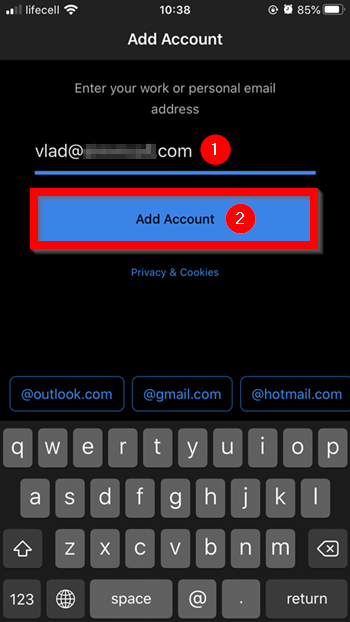
- Type your Kerio Connect email address.
- Tap Add Account.
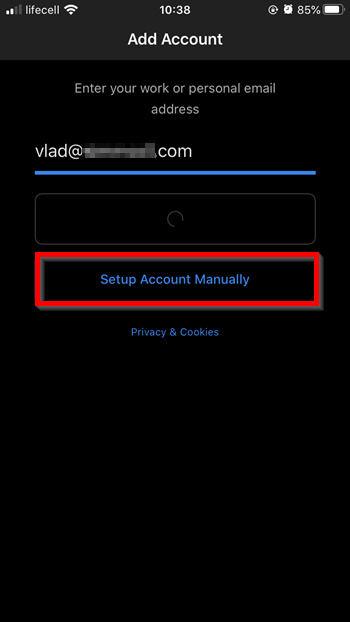
- Tap Setup Account Manually.
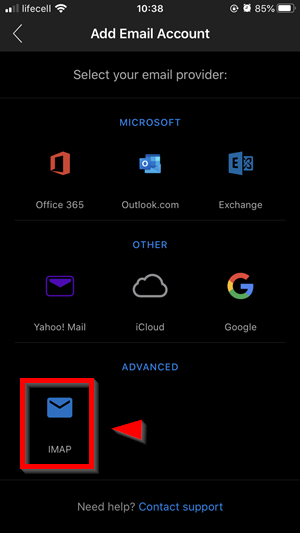
- Choose IMAP.
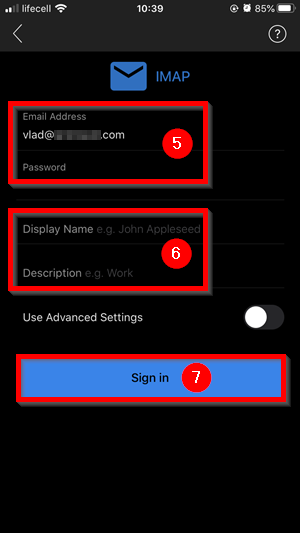
- Enter your Email Address and Password.
- Type your Display Name and a Description.
- Tap Sign In.
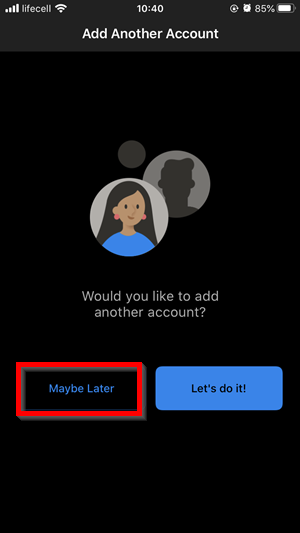
- Once the account is configured, tap Maybe Later.
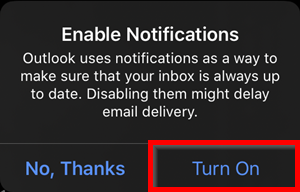
- To allow Outlook to send notifications, follow the steps below. (Optional)
- Tap Turn On.
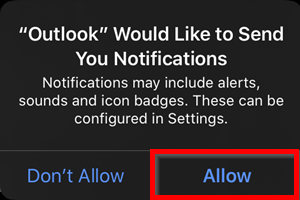
- Tap Allow.
- Tap Turn On.
Android
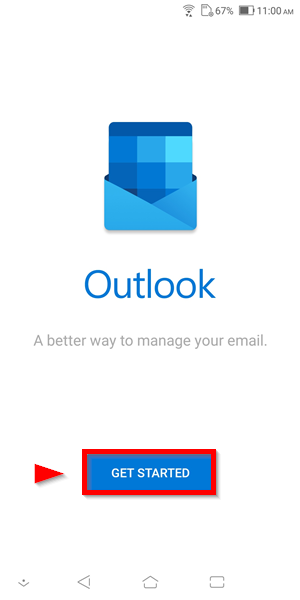
- Tap GET STARTED.
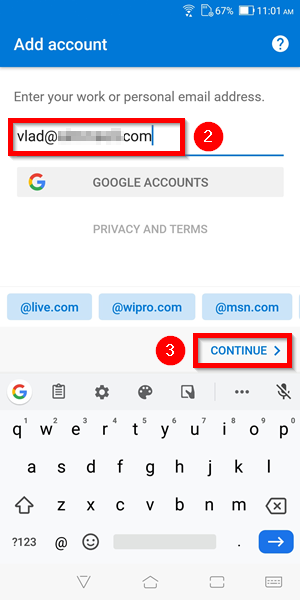
- Type your email address.
- Tap Continue.
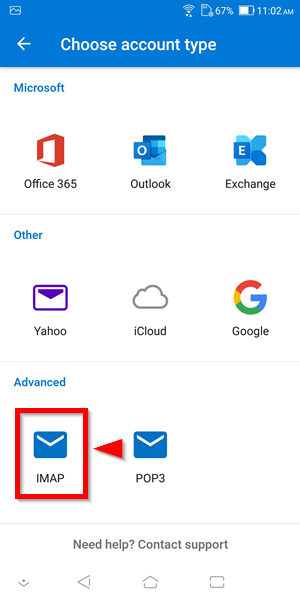
- Choose IMAP.
NOTE: in the case that after inserting the password, you are not left with a choice, and it just defaults to ActiveSync, press on the question mark button at the top (?) > Change account provider and you will be shown the below screen
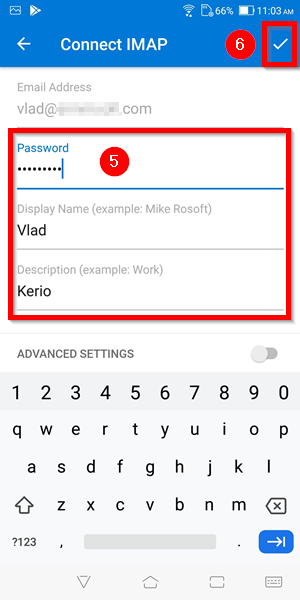
- Type your Display Name, and Description.
- Fill in the Kerio Connect server details in the 2 sections that appear, along with your username and password. Remember that both sections need to be filled in:
- IMAP - used for syncing the emails
- SMTP - used for allowing email sending
- Tap the check-mark.
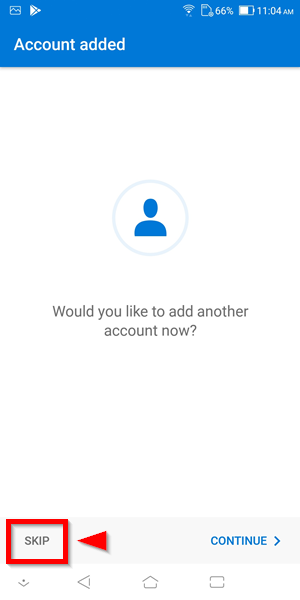
- Tap Skip to ignore the option of adding another account.
- Tap Skip to pass the basic user interface introduction.

Confirmation
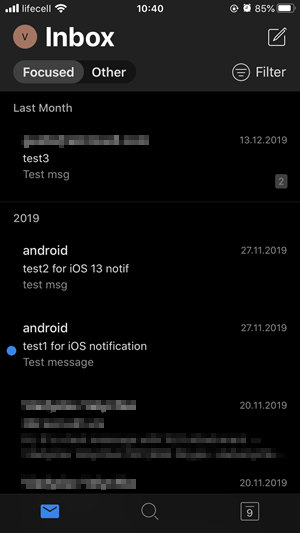
The Outlook IMAP account is successfully configured on the iOS device.
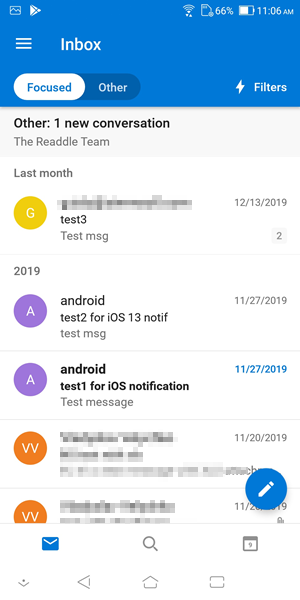
The Outlook IMAP account is successfully configured on the Android device.
Priyanka Bhotika
Comments