Overview
For each Kerio Connect domain, you can customize the email footers that are automatically added to all the messages sent from that domain. This article shares the steps for enabling this setting.
Prerequisites
Administration access to Kerio Connect
Solution
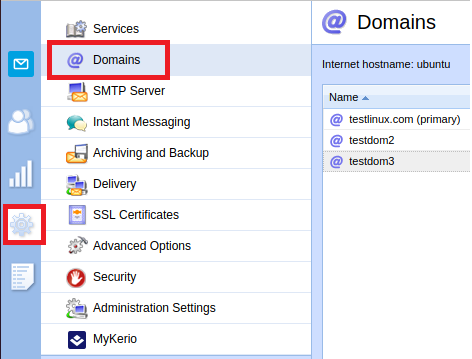
- In the Kerio Connect administration interface, go to the Configuration > Domains section:
- Double-click the domain where you want to make the footer changes and go to the Footer tab:
- Enable the Append the footer to outgoing messages option.
- If you do not want to append footers to messages for internal recipients (Recipients belonging to any domain inside the same Kerio Connect server), select the Don't append if there are only internal recipients option.
- Create the footer (in plain text or HTML).
- Click OK.

Confirmation
When a user sends a new message, if the user has their own email signature defined, then this domain footer is displayed below the user's signature. When a user replies to a message, Kerio Connect places the domain footer below the whole conversation and the user's signature below the individual replies.
Priyanka Bhotika
Comments