Overview
Kerio Connect applies incoming rules to all the messages that come to the server from local or remote senders. These rules are applied before the outgoing rules and user filters in Kerio Connect Client.
To create a new message filter rule, special separators like commas, semi-colons, asterisks, question marks can be used.
The common scenarios include configuring the Out Of Office message for all users in the specified domain, sending notification email once the message size reaches the specific size, or changing the subject of the incoming email.
Note: There is no action that allows making changes to the message body, such as adding a note or image to it.
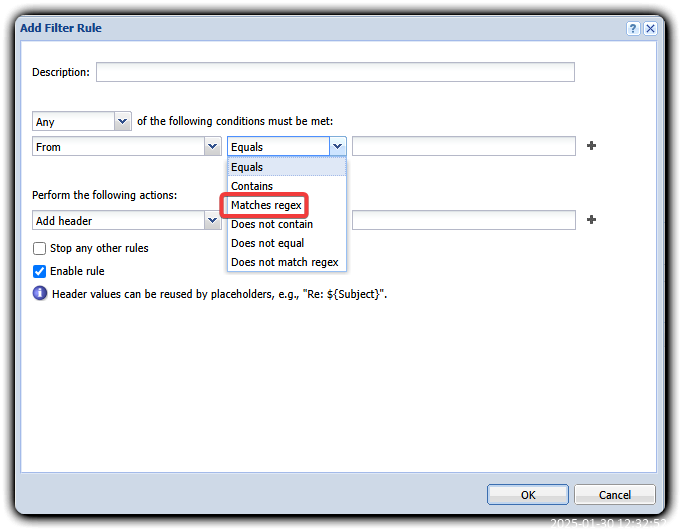
New in Kerio Connect 10.0.6: regex capabilities for message filters
Prerequisites
Access to Kerio Connect Administration
Process
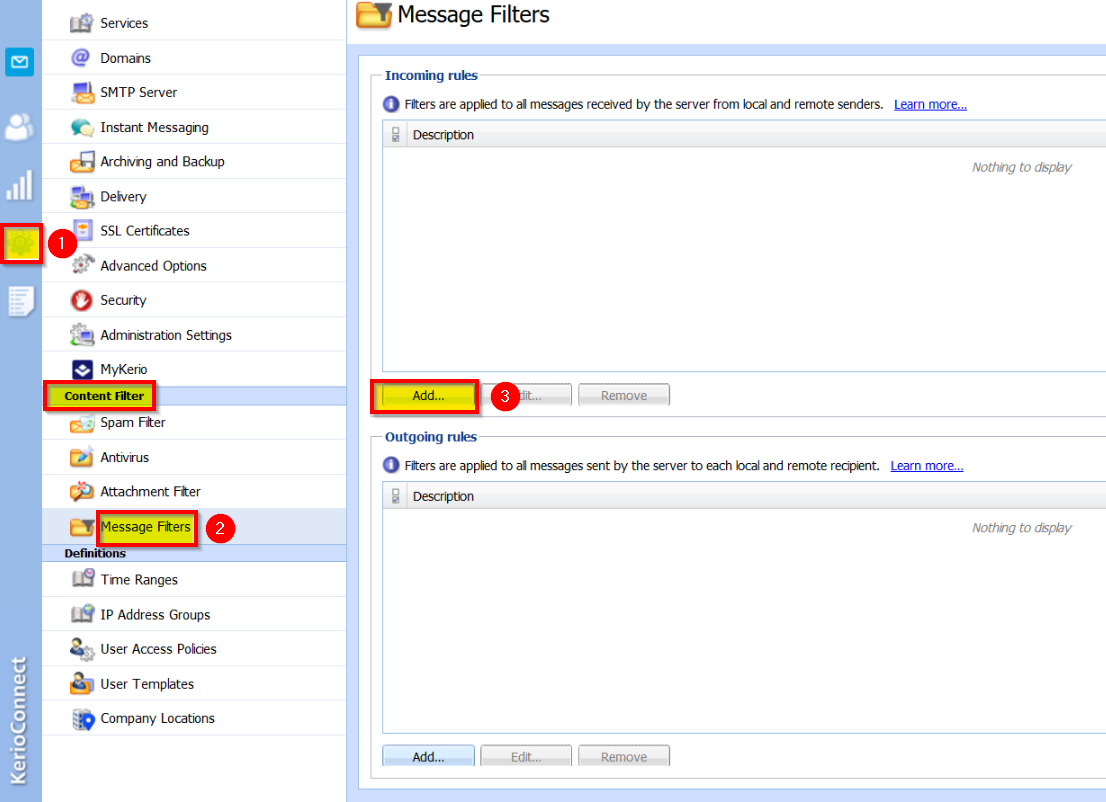
- In the administration interface, click on the Configuration icon.
- Under Content Filter, click Message Filters.
- In the Incoming rules section, click Add.
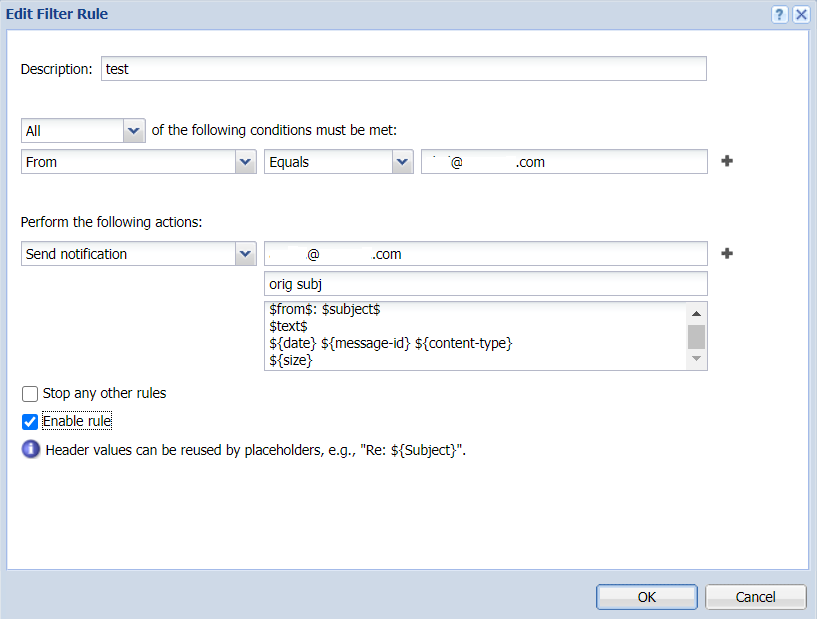
- In the Description field, type a name for the filter.
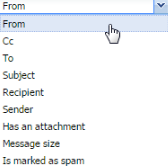
- Specify the conditions for the filter.
Please note that all message filters (server and client side) will only work against email addresses. Using message filters against display names will not work.
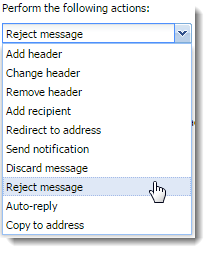
To specify multiple email addresses, use a comma (,) or a semi-colon (;).Regular expressions, question marks (?), and asterisk symbols (*) are not supported in placeholders. - Specify the actions.
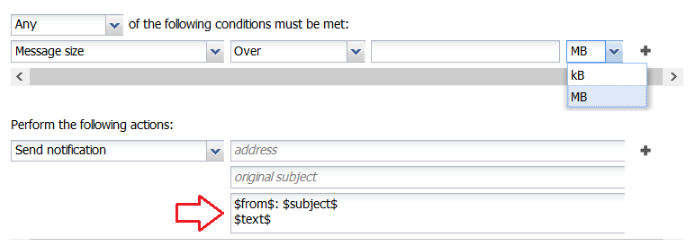
NOTE: You can use placeholders for header values, such as
${size}for message size or${subject}for message subject.
It is required to use curly brackets (
{}) in order to make the non-standard message headers work.
Here is an example message filter:
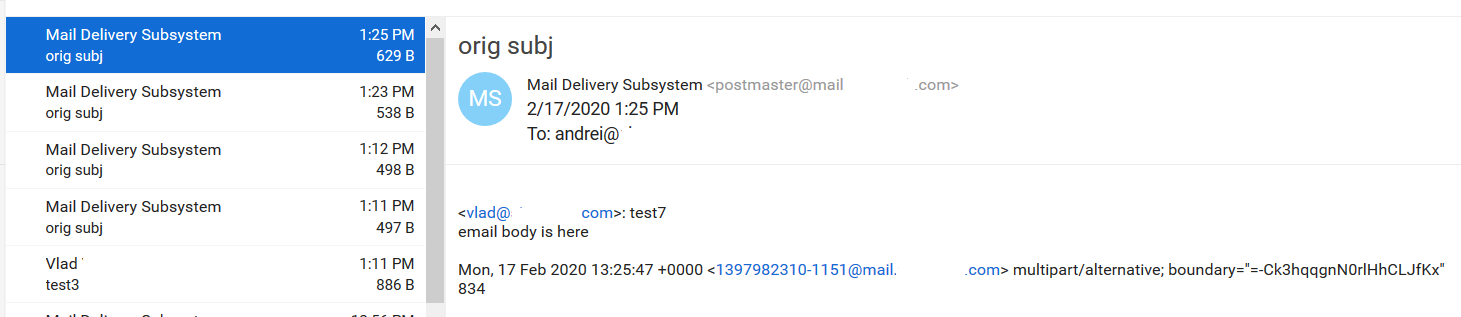
The example message filter presented above generates the following email in Webmail:
For the full list of supported Message Headers, please refer to the email headers standard specification. - If you prefer, select the Stop any other rules option.
The rules are processed from the top. If this option is selected, and the message matches the rule, no other rules are processed. - Click OK.
- Click Apply.

Confirmation
A new incoming rule is added and specified as needed.
Related Article
Priyanka Bhotika
Comments