Overview
Kerio Connect Client is a native desktop application for managing emails, chat messages, calendars, contacts, tasks, and notes. This article describes the process to install and configure the Kerio Connect Client on Windows.
Note: Kerio Connect Client (KCC) does NOT require Administrator rights to be started successfully.
Prerequisites
Kerio Connect Server needs to be installed.
Solution
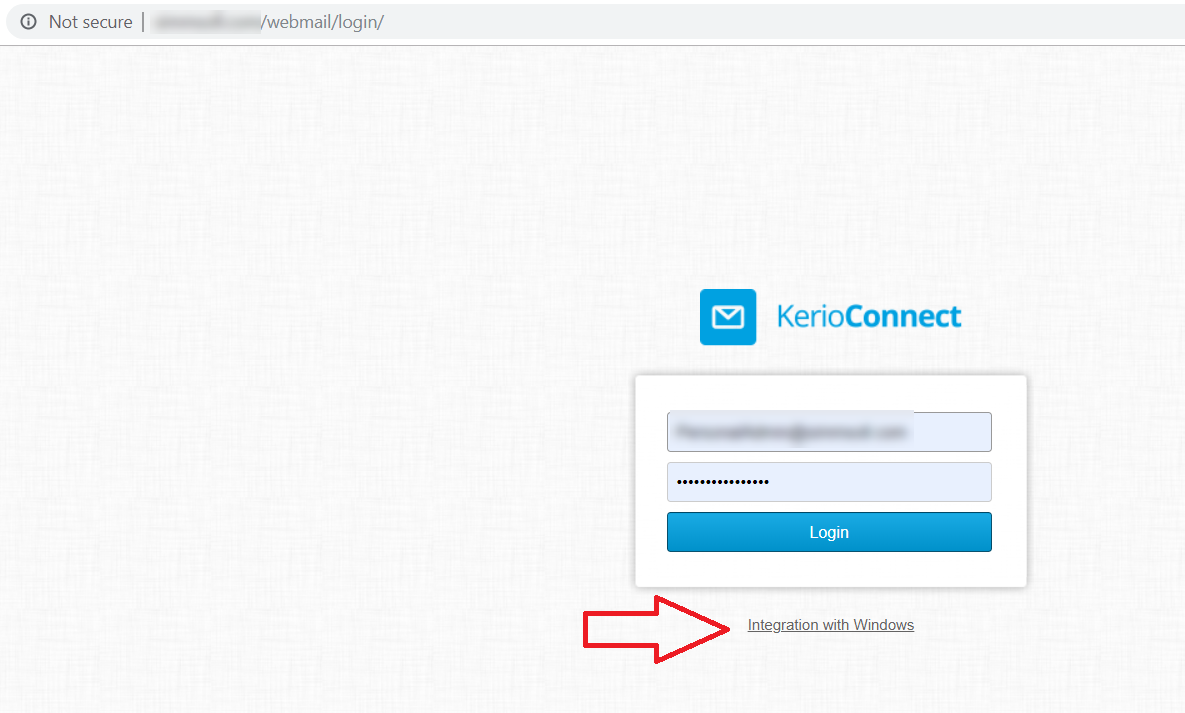
- Open your browser and go to the Kerio Connect Webmail page.
- Click on the Integration with Windows link.
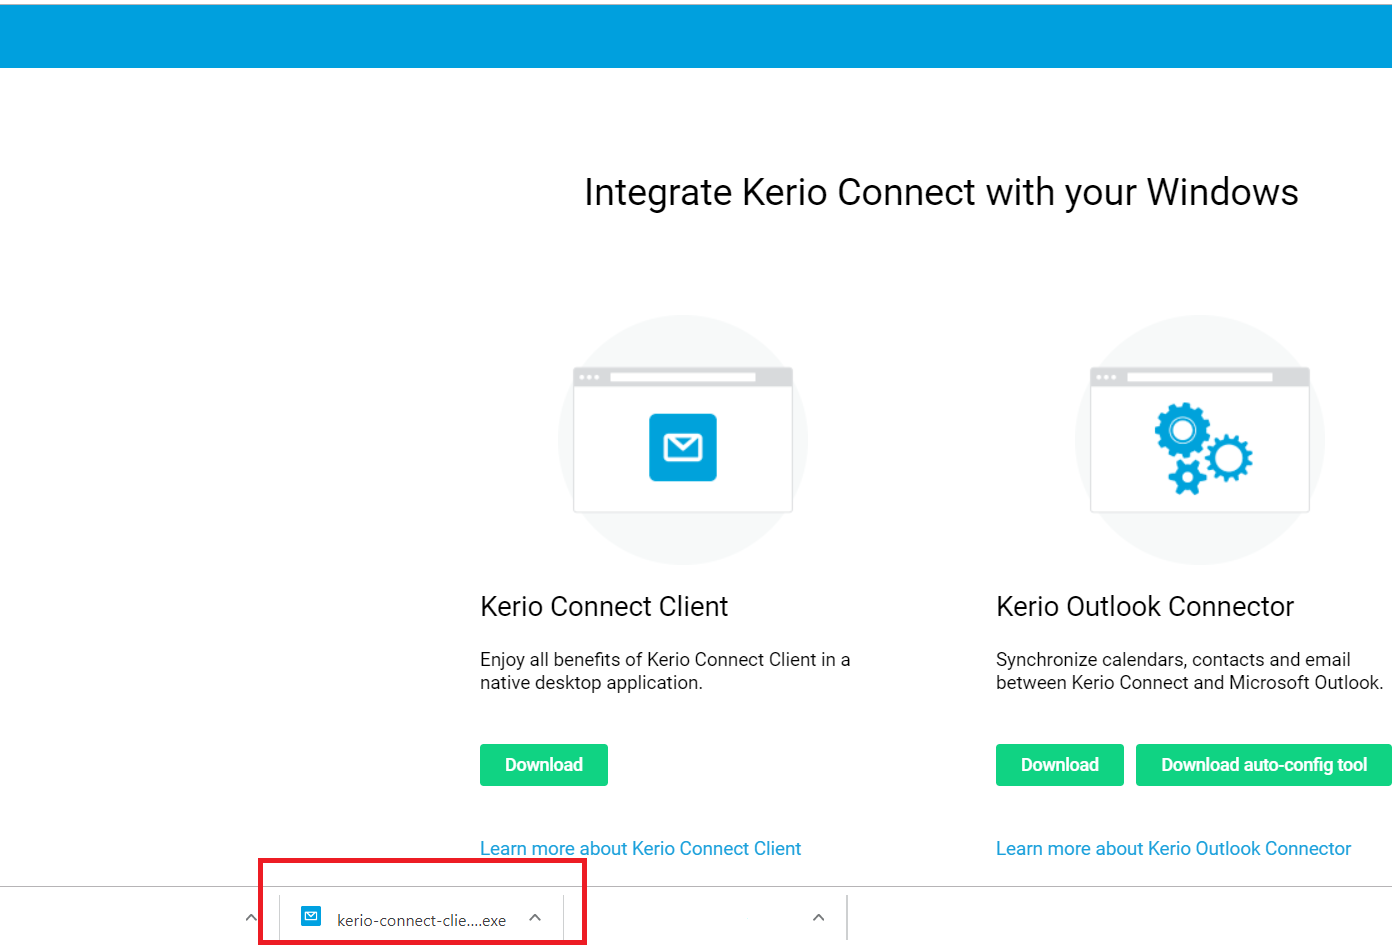
- Click on the Download button in the Kerio Connect Client section.
Note: If you are looking for an older version of the Kerio Connect Client, then, that can be found on this page. - Open the downloaded installer to run the installation.
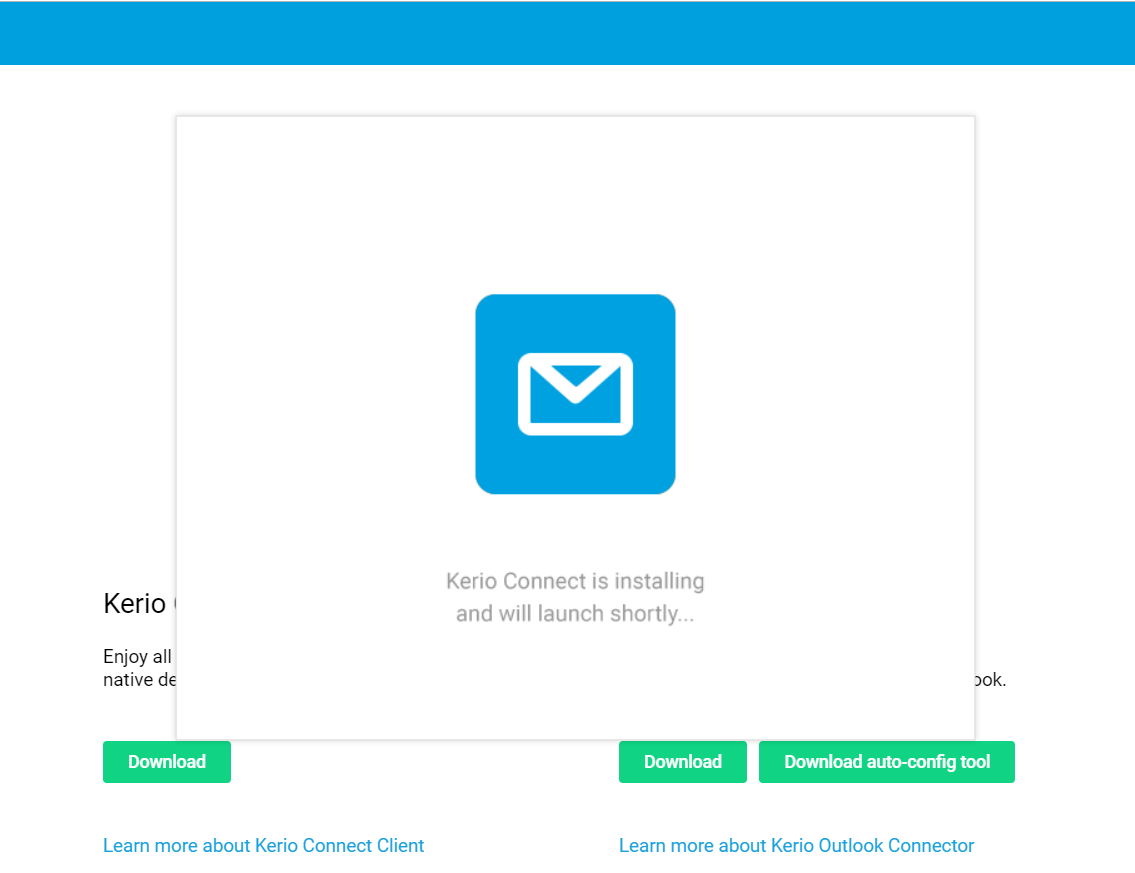
- Wait for the installation to complete.
- Enter your Email and Password.
- If needed, click the Advanced button to specify the Server address as well - it can be either FQDN or the IP address.
- If you are using third-party antivirus software, please exclude the following folders from scanning to avoid stability issues with Kerio Connect Client:
C:\Users\<username>\AppData\Local\KerioConnectC:\Users\<username>\AppData\Roaming\Kerio ConnectC:\Program Files\Kerio(if this folder is created)


Priyanka Bhotika
Comments